Setting up a Techvia TMS account takes a few minutes and no credit card: you enter your name, company and work email, click the confirmation link that arrives in your inbox, choose a password, and sign in to your own empty workspace. This guide walks through each screen with screenshots so you know exactly what to expect, and what to do first once you’re inside.
This is the first post in a short series that takes you from a blank account to a paid invoice. If you’re still comparing systems, the trucking dispatch software free trial guide lists what to test before you commit.
Step 1: Create your workspace
Go to the Techvia TMS sign-in screen and choose Create an account. You’ll see a short form:
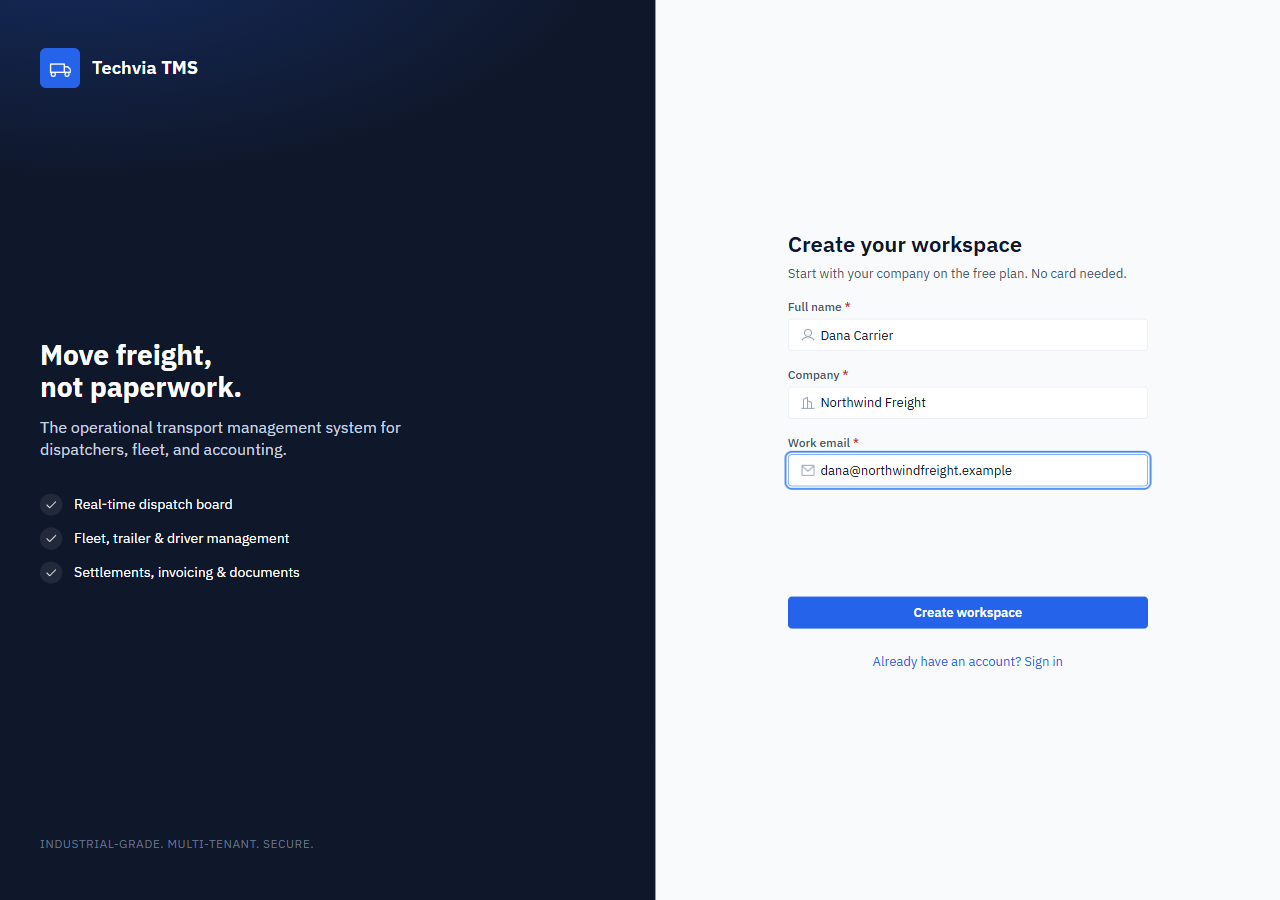
- Full name: yours. It becomes your display name.
- Company: your brokerage or carrier name. This becomes the name of your workspace.
- Work email: use an address you can open right now, because the next step depends on it.
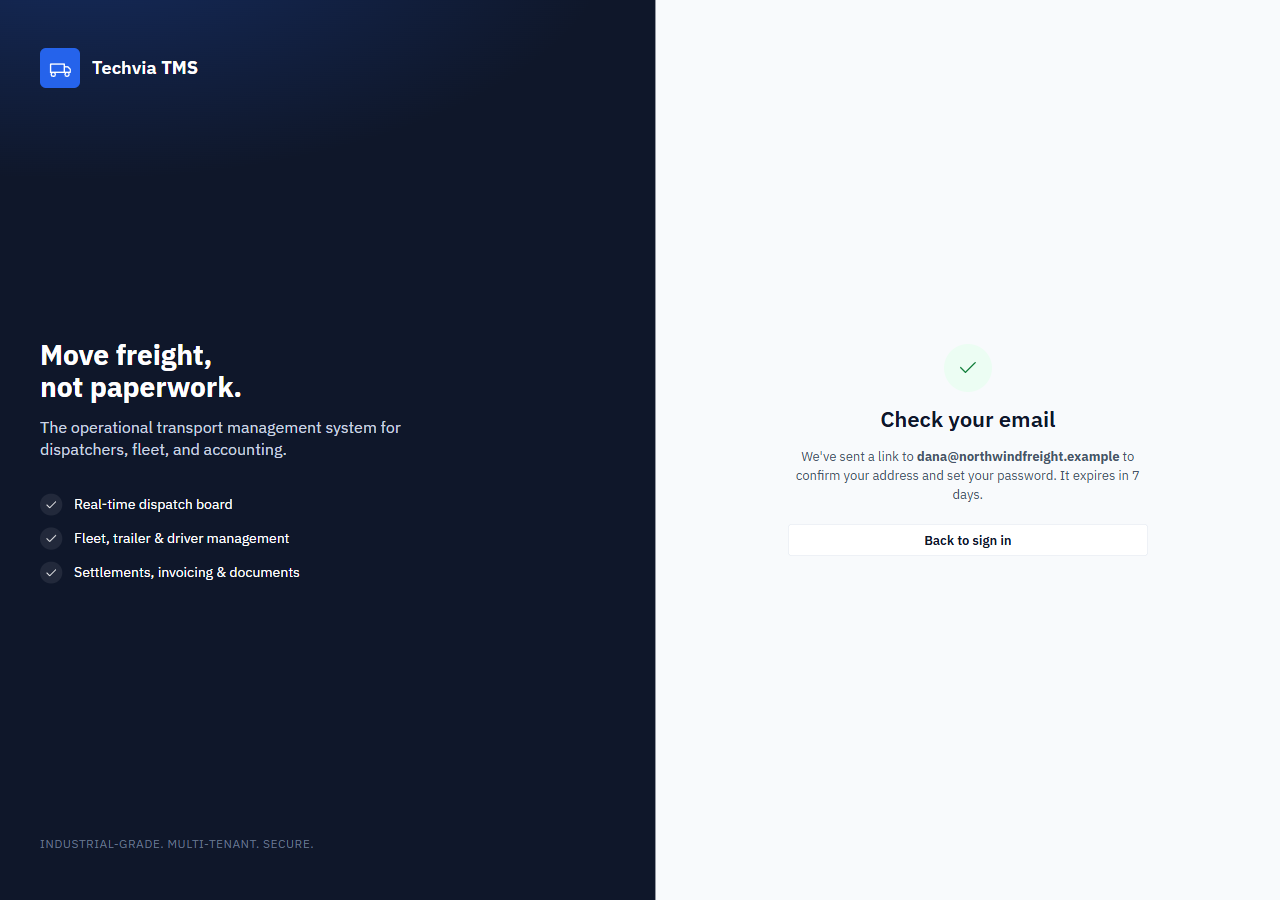
The form also runs a quick automated check to keep bots out. Then click Create workspace. The page tells you the plan you’re starting on (“the free plan, no card needed”) and, after you submit, confirms that a link is on its way.
Step 2: Confirm your email and set a password
The confirmation email arrives within seconds. The subject line is “Confirm your email to activate your Techvia TMS workspace”, and the link in it is good for 7 days. If you don’t see it, check your spam folder.
Click the link and you land on Set your password. Choose a password of at least 8 characters and type it twice.
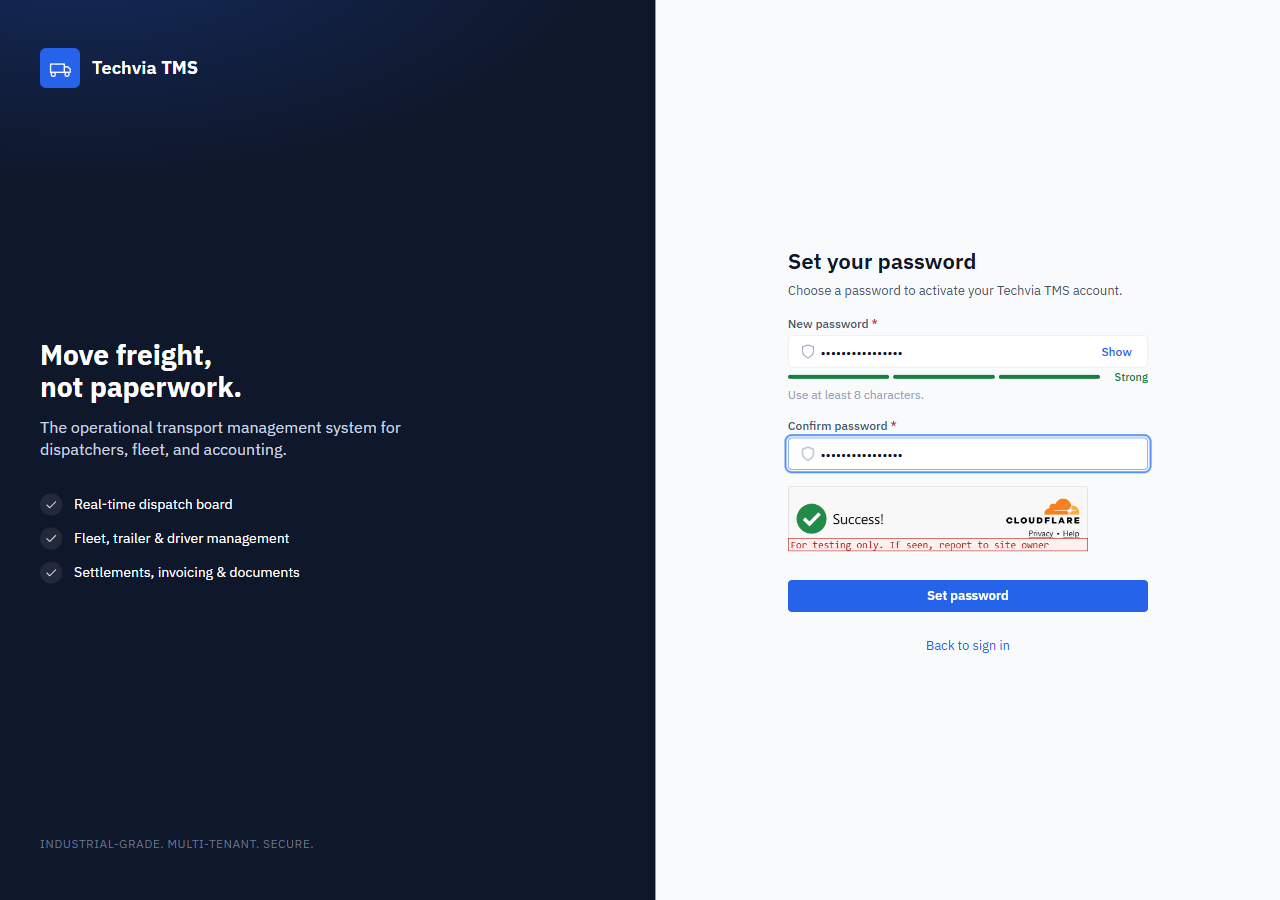
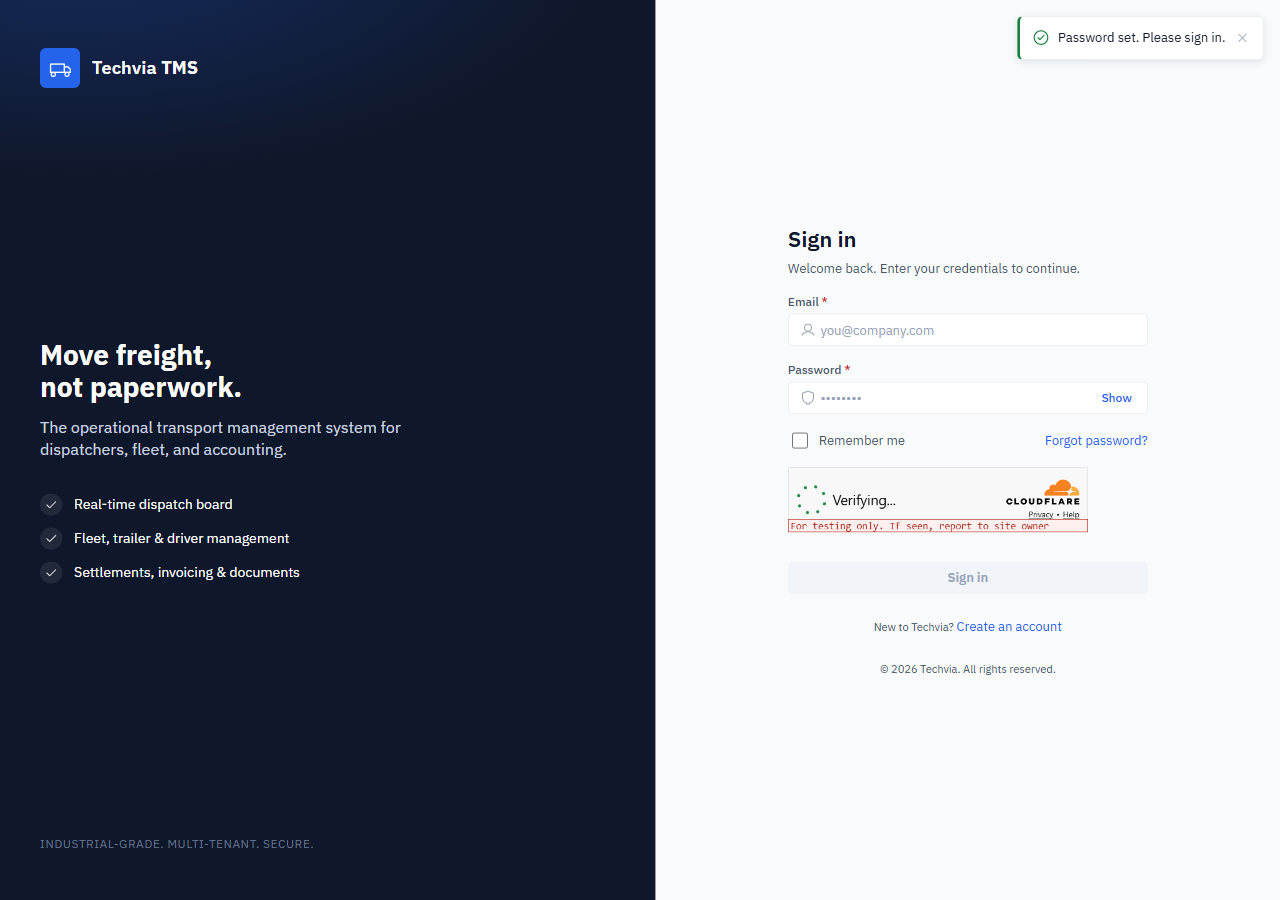
When you save it, you’re sent back to the sign-in screen with a short “Password set. Please sign in.” notice. That’s normal, so don’t worry that it didn’t log you in automatically.
Step 3: Sign in and look around
Enter your email and new password. You arrive on Home, your dashboard, as the Organization Admin of a brand-new workspace, which means you can see and do everything, including inviting teammates.
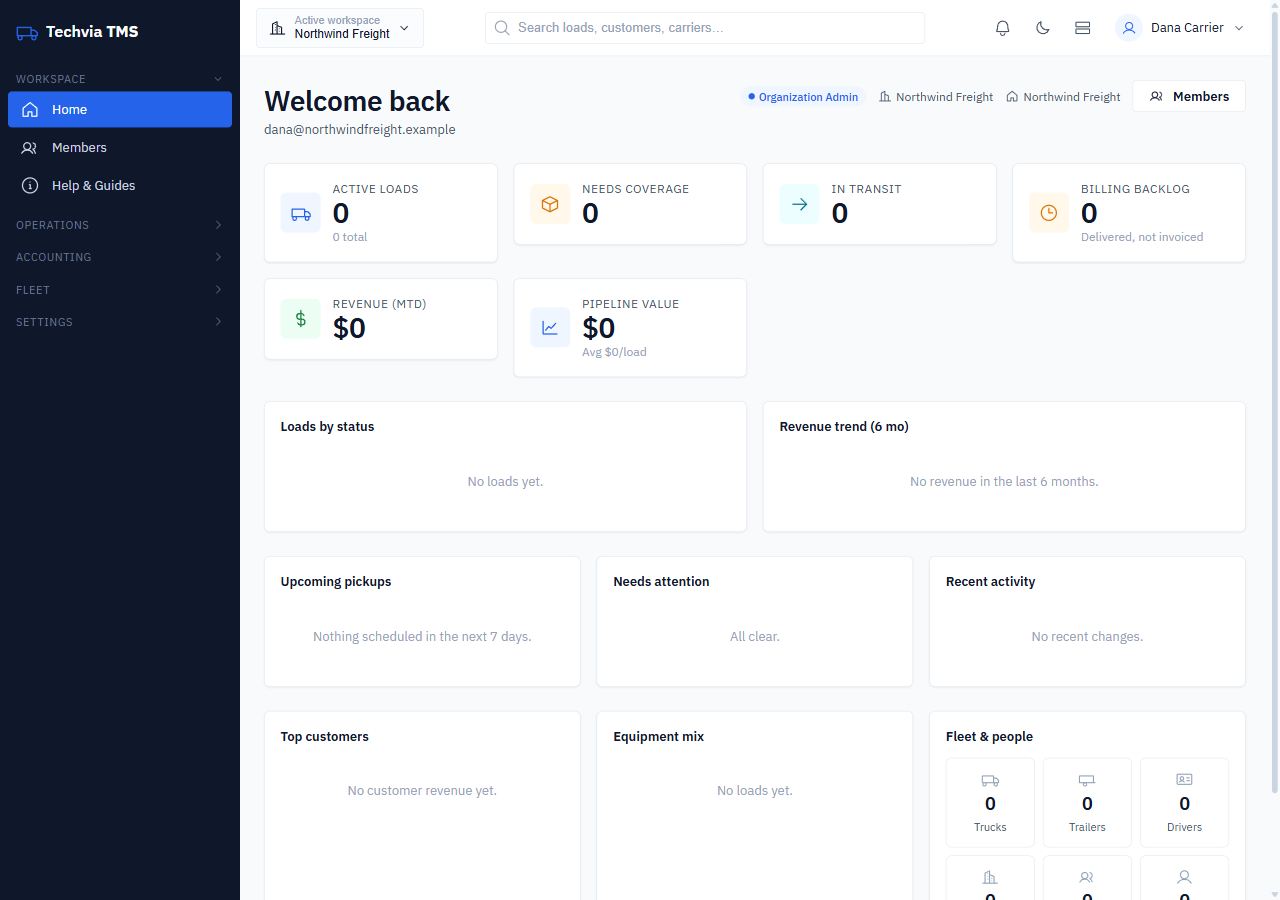
Everything reads zero right now because there’s no data yet. The top row shows six numbers: Active loads, Needs coverage, In transit, Billing backlog (labelled “Delivered, not invoiced”), Revenue (MTD) and Pipeline value. They’re calculated from your own loads, so they fill in as you work through the rest of this series.
Below the tiles you’ll find loads by status, a six-month revenue trend, upcoming pickups, anything needing attention, recent activity, top customers, equipment mix and a fleet-and-people count. Financial figures such as revenue only show for users whose role allows it.
The left-hand menu
The sidebar is grouped the way the work flows:
- Workspace: Home, Members and Help & Guides
- Operations: Quotes, Loads, Load Templates, Customers, Carriers, Dispatchers, Customs Brokers, Facilities, Live Tracking and Compliance
- Accounting: Invoices and settlements
- Fleet: trucks, trailers and drivers
- Settings: load numbering, quoting, detention and more
The search box at the top finds loads, customers and carriers from anywhere, and the two icons next to the bell switch between light and dark theme and between comfortable and compact rows.
What to do next
A workspace with no people and no customers can’t do much yet, and there’s a required order to it: loads need a dispatcher, and a dispatcher needs a user account. So the next step is inviting your first teammate. That’s covered in how to invite your team and add a dispatcher in Techvia TMS.
If you’d rather see the whole path first, the rest of the series covers customers, facilities and carriers, your first load and invoicing it.
Start your own
Techvia TMS is built for small brokers and carriers: $49 a month with unlimited users and trucks, and no credit card needed to start. Create a workspace and follow along with this guide.